Wig Install Tutorial with Details and Videos
Wigs have come a long way. What used to mean a full salon appointment (and a pretty high bill) can now be done right at home. Whether you're into glued lace wigs or easy glueless styles, learning how to install a wig yourself gives you way more flexibility and saves you time and money.
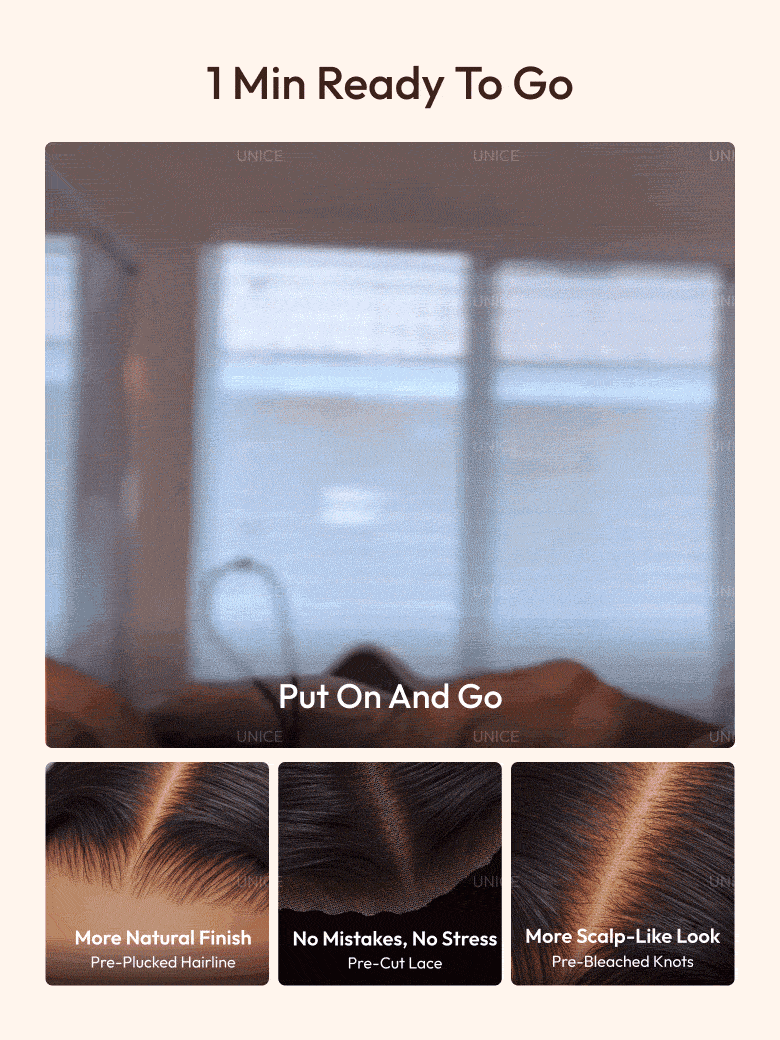
Image: Wig by UNice
If you’re new to this, don’t stress. A good wig install might look complicated on TikTok, but once you break it down step by step, it’s actually very doable. This guide walks you through everything in a simple, realistic way, no overcomplicated techniques, just what actually works.
Before You Start: What You’ll Need
Before installing your wig, make sure you have the basics ready:
- Wig cap
- Rat-tail comb and wide-tooth comb
- Clips or hair ties
- Scissors or a razor for cutting lace
- Adhesive (glue or gel) if you’re doing a glued install
- Edge control or styling gel
- Silk or satin scarf
You don’t need everything to be perfect, just having the essentials makes the process much smoother.
How to Install a Lace Front Wig (Step-by-Step)
- Step 1: Prep Your Natural Hair
Your base matters more than anything. The flatter your natural hair is, the more natural your wig will look.
If your hair is long, braid it down into cornrows. If it’s shorter, you can slick it back using gel or mousse. The goal is to create a smooth, even surface.
Next, clean your hairline area with alcohol or a gentle cleanser to remove oils. This helps the wig stay in place if you’re using adhesive.
Then put on a wig cap to keep everything secure. You can lightly blend the cap with your skin tone using foundation if you want a more natural finish.
- Step 2: Prep the Wig
Before installing, take a few minutes to check your wig.
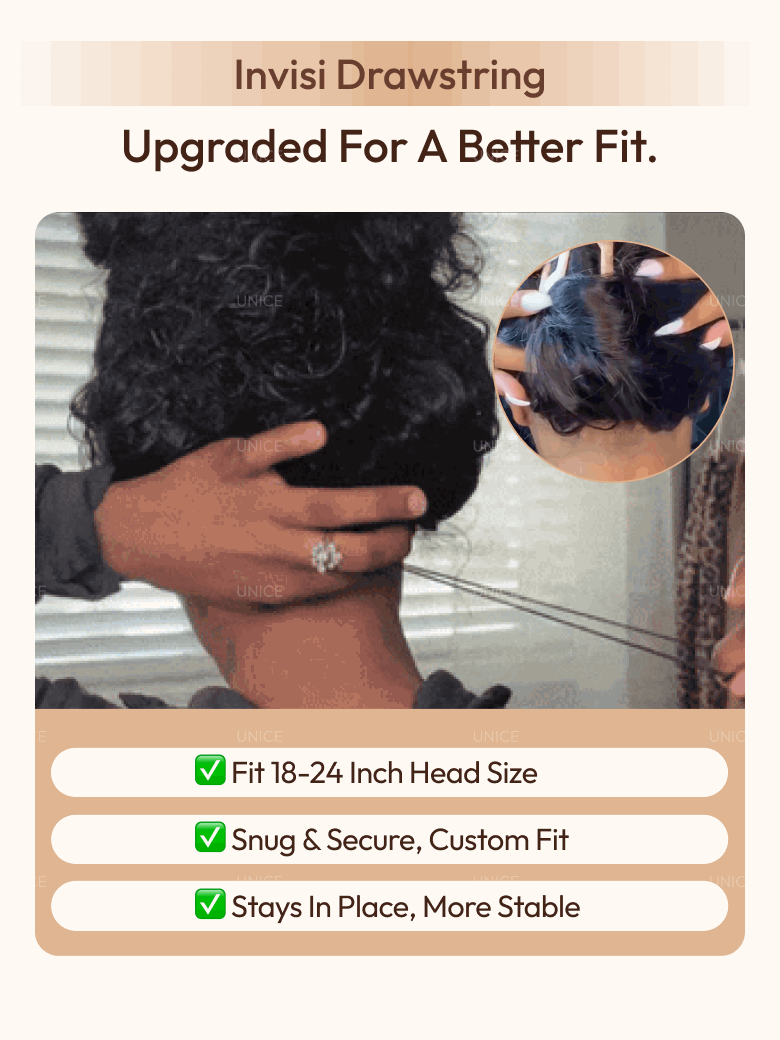
Image: Wig by UNice
Adjust the straps so they fit your head properly. If the lace looks too light, you can tint it slightly with foundation or lace tint spray.
Some wigs come pre-plucked and ready to wear, but if needed, you can lightly customize the hairline. Keep it subtle; over-plucking is hard to fix.
- Step 3: Position the Wig
Place the wig on your head and line it up with your natural hairline. Take your time here, this step makes a big difference in how natural it looks.
Make sure it feels comfortable and secure before moving on. If it doesn’t sit right now, it won’t sit right later.
- Step 4: Secure the Wig
If you’re going glueless, you can use the adjustable straps, combs, or elastic band inside the wig to secure the wig. This is the easiest method and great for beginners.
If you’re using glue or gel:
- Apply a thin layer along your hairline (not directly on your edges)
- Wait until it becomes tacky
- Gently press the lace into the adhesive
You can repeat this in layers if you want a stronger hold.
- Step 5: Cut the Lace
Once the wig is secured, carefully cut off the extra lace. Use small, uneven cuts instead of a straight line—this helps the hairline look more natural.
Take your time with this step. It’s better to cut less and adjust than to remove too much at once.
- Step 6: Melt and Style

Image: Wig by UNice
To finish, use a little styling spray or mousse along the hairline, then tie a silk or satin scarf around it for about 10–15 minutes. This helps the lace blend better with your skin.
After that, style your hair however you like, part it, curl it, or keep it sleek.
Glueless Wig Option (Beginner-Friendly)
If all of this feels like a lot, here’s the truth: you don’t have to use glue at all.
Glueless wigs are designed to be quick and easy. You can literally put them on, adjust the fit, and go. No adhesive, no waiting, no stress.
They’re perfect for everyday wear, work, school, or even last-minute plans when you don’t have time for a full install.
Final Thoughts
Learning how to install a wig takes a little practice, but it’s completely doable. You don’t need to be a professional to get a clean, natural look, you just need patience and the right steps.
Start simple, take your time, and don’t aim for perfection on your first try. The more you do it, the easier it gets.
At the end of the day, wigs are about flexibility. Whether you want a quick everyday style or a full glam look, knowing how to install your wig gives you the freedom to switch it up whenever you want.
FAQs About Wig Install
How long does it take to install a wig?
A wig install can take anywhere from 30 minutes to 2 hours, depending on the method. Glueless wigs are the quickest and can be installed in minutes, while glued lace installs take more time for prep, drying, and styling.
Can beginners install a wig at home?
Yes, beginners can definitely install a wig at home. Starting with a glueless wig is the easiest option since it doesn’t require adhesive or advanced techniques. With practice, you can move on to more detailed installs like lace front wigs.
Do you have to use glue to install a wig?
No, glue is not required. Many modern wigs are designed to be glueless, using adjustable straps, combs, or elastic bands to stay secure. Glue is only needed if you want a more long-lasting, melted hairline look.
How long can you keep a wig installed?
A glued wig install can last from a few days up to two weeks with proper care. Glueless wigs are meant for daily wear and can be removed at night to protect your scalp and natural hair.
How much does a wig install cost?
The cost of a wig install typically ranges from $100 to $300 or more at a salon, depending on the method and services included. Basic installs may be cheaper, while more detailed services like bleaching knots, plucking the hairline, and styling can increase the price. If you install your wig at home, the cost is much lower—you mainly pay for tools and products, and many of them can be reused.
How do you make a wig look natural?
To make a wig look natural, focus on proper placement, blending the lace with your skin tone, and customizing the hairline if needed. Small details like parting, baby hairs, and styling can make a big difference.
Do I need to bleach knots and pluck the hairline?
Not always. Many wigs now come pre-bleached and pre-plucked, such as UNice Pre-everything Wigs Collection. If your wig already looks natural, you can skip these steps. They are optional and mainly for achieving a more customized look.
What is the easiest wig for beginners?
Glueless wigs, headband wigs, and V part wigs are the easiest for beginners. They require little to no installation effort and are perfect for everyday use.
How do you keep a wig secure all day?
For a secure hold, make sure the wig fits properly and use adjustable straps, combs, or adhesive if needed. A well-fitted wig combined with proper installation will stay in place throughout the day.


