Ballet Buns for Beginners: A No-Fuss Styling Guide
So, you've got your first ballet class, an audition, or maybe love that super sleek, ballerina vibe. The hairstyle requirement? The Ballet Bun. It might seem not very safe at first glance – all those impossibly smooth, perfect orbs of hair! But trust me, with a little know-how, anyone can master this classic look. Let's break it down, no fancy skills required, promise.
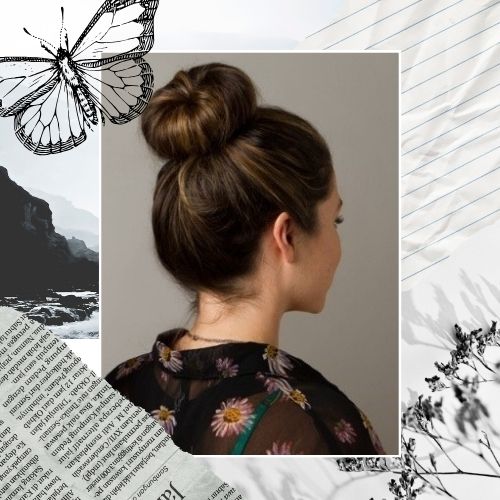
What Exactly Is a Ballet Bun?
Source: Pinterest
The ballet bun is a tight, smooth, and secure knot of hair positioned close to the head. Designed for functionality, it keeps every strand in place during intense movement, preventing it from obstructing the face. Unlike messy top knots or loose chignons, the ballet bun prioritizes pristine neatness and classic elegance.
Features of a Ballet Hair Bun
Source: Pinterest
🌟 Slicked Back & Smooth: No bumps or loose baby hairs flying free. Hair should be combed tightly back from the hairline.
🌟 Centered & Balanced: It sits neatly at the crown or nape, not lopsided.
🌟 Tightly Secured: This bun isn't going anywhere. It should feel firm and immovable.
🌟 No Flyaways: Gel, spray, water – whatever it takes to tame those wispies.
🌟 Functional First: While beautiful, its primary purpose is practicality for movement.
How to Do a Ballet Bun?
Don't panic! Creating a secure ballet bun is easier than you think. Grab these tools:
✅ Hairbrush
✅ Fine-tooth comb
✅ Hair elastics
✅ Bobby pins
✅ Hairpins / Spin Pins (Optional)
✅ Hair gel, pomade, or strong-hold hairspray
✅ Hairnet (Matching your hair color - the secret weapon for a super smooth finish)
Here’s How to Do It:
1️⃣ Prep & Pony: Brush your hair thoroughly to eliminate any knots or tangles. Pull it back into a high ponytail (for the classic high bun) or a low ponytail at your nape. Ensure it's extremely smooth at the front and sides.
✨ Tip: Gently dampening your hair or applying a small amount of gel or mousse to flyaways can work wonders.
2️⃣ Twist & Wrap: Hold the end of your ponytail and twist the entire length tightly. Now, start wrapping that twisted rope around the base of your ponytail. Keep it flat and close to your head as you wrap.
3️⃣ Secure the Beast: As you finish wrapping (tuck the ends under the bun if you can!), It's PIN TIME. Open a bobby pin, slide it through the outer edge of the bun and into your scalp hair underneath, catching the bun net if you're using one. Pin in a criss-cross pattern ("X" marks the spot!) all around the bun. Seriously, use more pins than you think you need. Stab strategically!
4️⃣ Net Gain (Optional but Recommended): If you have thick, long, or slippery hair, a bun net is your BFF. Stretch it over the entire bun before you finish pinning. Tuck any loose ends under the net, then secure everything with more pins through the net into your scalp hair. This is the key to that seamless, doughnut-less ball.
5️⃣ Lock It Down & Smooth: Give the whole masterpiece a generous misting of strong-hold hairspray. Smooth down any last stubborn baby hairs with a tiny bit of hairspray on a toothbrush or your fingertip.
4 Fascinating Ballet Bun Variations to Try
Ready to add a little personality to your bun? Here are five stylish takes on the classic ballet bun.
Low Ballet Bun
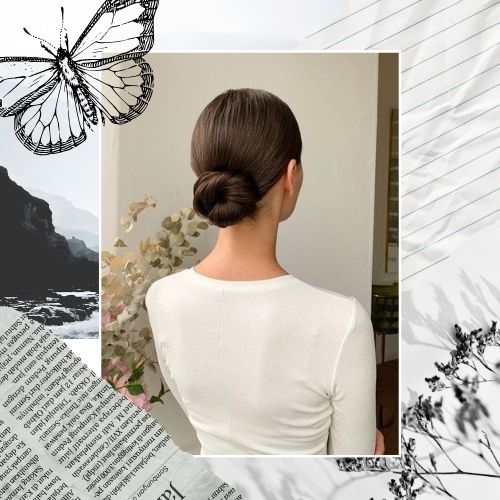
Source: Pinterest
Elegant and understated, the low ballet bun sits at the nape of your neck. Ideal for formal events or professional settings, it complements long necklines and statement earrings.
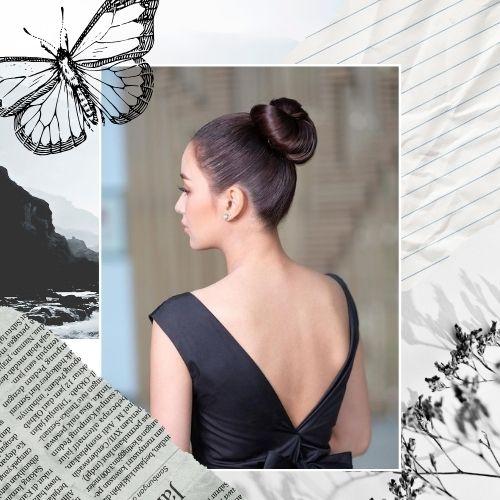
High Ballet Bun
Source: Pinterest
The high ballet bun, positioned at the crown, offers a youthful and playful ballerina aesthetic. It accentuates facial features and keeps hair neatly away from the shoulders.
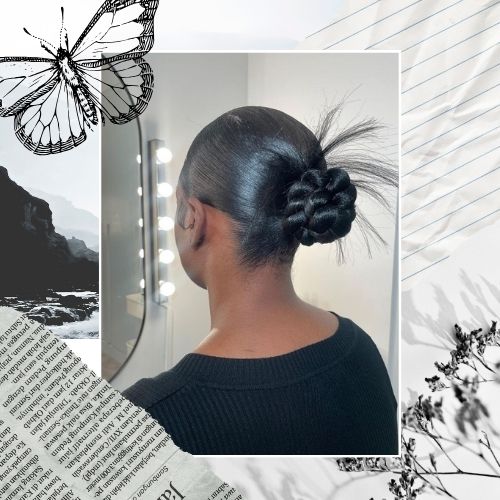
Braided Ballet Bun
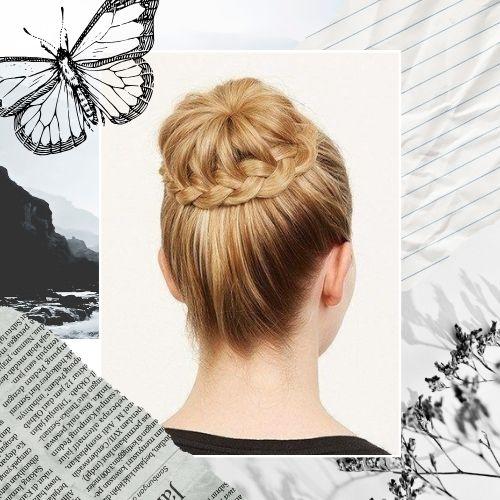
Source: Pinterest
For a textured bun, braid your ponytail before wrapping it. This romantic variation adds detail and is perfect for special occasions.
French Twist Ballet Bun
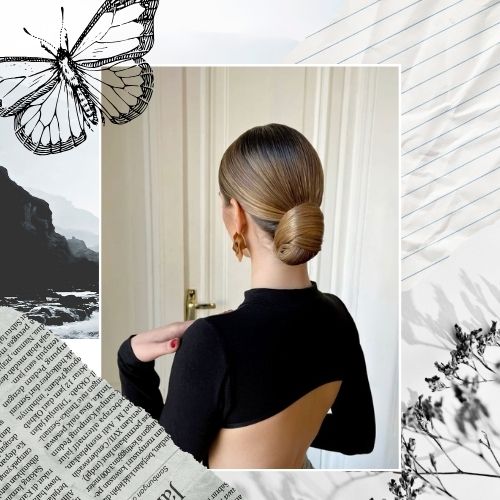
Source: Pinterest
This elegant updo combines a ballet bun and French twist, perfect for weddings, proms, or any occasion demanding sophisticated style.
Conclusion
The ballet bun exemplifies stunning simplicity. Adaptable to any style, from sleek to bold, this classic hairstyle offers an effortless, put-together look. Master the technique, and you'll find yourself returning to this timeless updo.