How to Cut a Wig: A Step-by-Step Guide for Beginners
Have you ever considered transforming your wig into a beautiful style? Perhaps you want fun bangs, sleek layers, or bouncy new lengths. So, what do you do? Simply cut the wig. In this post, we'll show you how to cut a wig, including how to shorten it and add layers to it, among other things. If intrigued, continue reading to find out more.
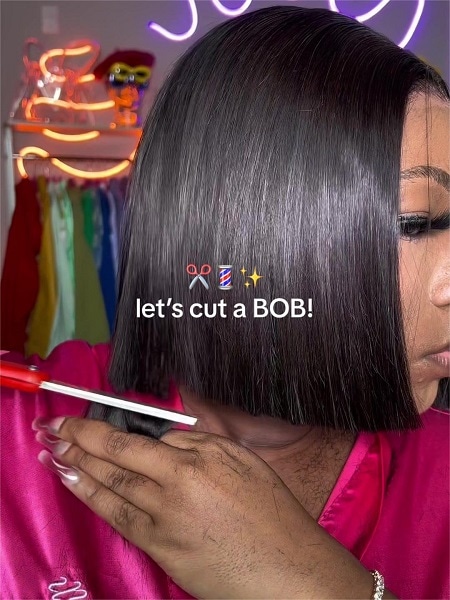
How to Cut A Wig Shorter?
Cutting your wig short is an interesting approach that allows you to try out different styles and customize the wig to your needs. Whether you're using a synthetic or real hair wig, follow these steps to trim your wig for a professional look.
Materials Needed:
Sharp scissors or hair shears
Wig stand or mannequin head
Wide-tooth comb
Hair clips
Spray bottle with water (for human hair wigs)
Step 1: Secure My Wig
I start by placing my wig securely on a stand or mannequin head, making sure it’s stable and at a comfortable height. A firm base makes all the difference!
Step 2: Gentle Detangling
Then, I grab my wide-tooth comb and gently work through any knots or tangles. If it’s a human hair wig, I lightly mist it with water – this helps the comb glide smoothly without tugging.
Step 3: Section Like a Pro
Using bobby pins, I separate the wig into manageable portions. I usually work from the bottom up to keep everything organized and guarantee that my cuts are correct.
Step 4: Measure Twice, Cut Once
Here’s my golden rule: I cut off less than I think I need first. It’s way easier to trim more later than to fix a cut that’s too short! I double-check my desired length before snipping.
Step 5: Time to Trim!
Holding a section firmly, I use professional clippers to cut, angling diagonally for softness or horizontally for blunt ends, depending on the desired look.
Step 6: Check & Perfect
After each cut, I comb through the section and check for evenness. I compare both sides to guarantee symmetry – nobody wants a lopsided wig!
Step 7: Final Polish
Once I’m happy with the length, I comb through the entire wig one last time. Any stray hairs? I tidy them up now for a flawless finish.
Step 8: Style with Confidence
Now for the fun part: styling! If my wig is heat-friendly, I might curl or straighten it. Heads up: If it’s synthetic, I always skip heat tools to avoid melting those fibers. Air-drying or cool styles only!
Read More: How to Style a Wig: Tips and Inspired Inspos
How to Cut Layers Into A Wig?
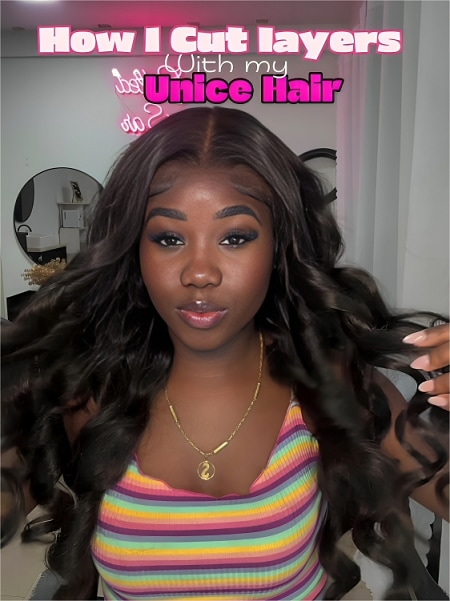
Cutting layers into your wig can give your hairstyle dimension, movement, and a more realistic appearance. Here's a step-by-step tutorial for achieving layered perfection.
If you're worried about ruining the wig while trimming it yourself, you can opt for layered wigs instead.
Step 1: Prepping My Wig
To start, I place the wig on a stand for stability and gently detangle it with a wide-tooth comb. A smooth beginning is key.
Step 2: Sectioning Like a Pro
I parted the wig cleanly down the middle, then clipped the top layers away with bobby pins for organized sections.
Step 3: Planning My Layers
Here’s my secret: I always cut the shortest layer to hit near my chin. That’s the sweet spot for a natural, flattering bounce!
Step 4: The Fun Part—Snipping!
Bottom Layer (Longest): I comb it smooth, pinch the ends between my fingers, and snip straight across. Easy-peasy!
Middle Layer: I hold this section at a slight upward angle and trim just enough to blend into the bottom layer. This angle? Magic for seamless graduation!
Top Layer (Shortest): I let this baby down, hold it straight up (yes, vertically!), and cut to blend right into the middle. Hello, dimension!
Step 5: The Perfectionist Check
After snipping, I brush everything out and really look. Spotted a wonky strand? I will fix it ASAP. Symmetry = confidence!
Step 6: Styling & Flawless Finish
Once those layers are dreamy, I style like crazy! A quick curl with my iron or soft waves amps up the movement.
Final Thoughts
Cutting a wig may be a satisfying experience, allowing you to manage your style and ensure a great fit. With the correct tools and procedures, you can get a professional-looking haircut at home. Remember to take your time, make minor changes, and enjoy the experience.