

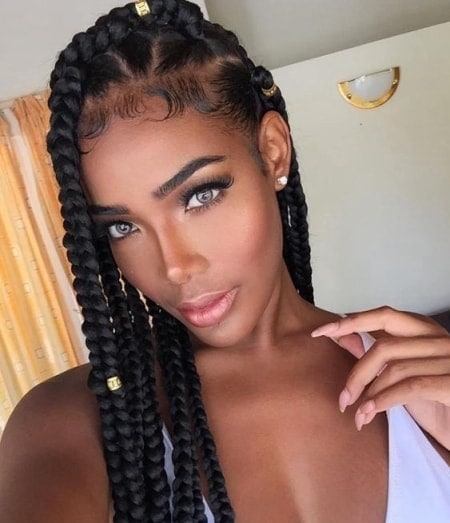
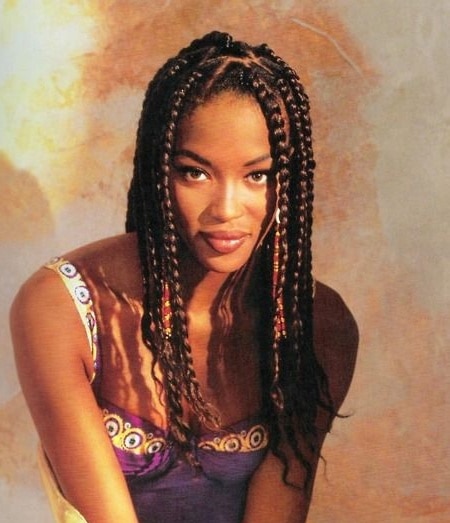
Dookie braids are definitely a look you should try. If you're a beginner and need a step-by-step guide, this article is for you. In this article, we'll tell you everything you need to know to get this look in your own home.Let's get started.
Before you begin styling, make the following preparations:

Rat tail comb
Wide-tooth comb
Hair dryer (optional)
Grease or oil for the scalp
Moisturizer for your hair
Shampoo
Hair conditioner
A heat source such as a microwave or oven
A pot or microwave-friendly bowl
Leave-in conditioner
Oil
Moisturizing cream
Edge control
An edge brush
Braids (optional). Most people who try Dookie braids use braids to thicken and lengthen their braids. You don't need to buy braided hair if you have a lot of hair and don't want your braids to be super long.
Tutorial for Dookie Braid Hair
✔️ Step 1: Wash & Detangle Your Hair
Start by thoroughly washing your hair to remove dirt, buildup, and product residue. Use a clarifying shampoo if you see visible buildup. After washing, always apply conditioner or a deep conditioner to restore moisture. Detangle your hair while it’s coated with conditioner, using a wide-tooth comb. Begin from the ends and work up to the roots.
✔️ Step 2: Moisturize Your Hair
Because your hair will stay braided for weeks, proper hydration is essential. Use a leave-in spray or oil, then follow with your favorite moisturizer. This keeps your hair nourished and protected throughout the style.
✔️ Step 3: Section Your Hair
Part your clean, moisturized hair into large sections—Dookie braids should be thick. Choosing larger parts reduces root tension and minimizes breakage.
✔️ Step 4: Braid Each Section
Apply edge control to each section’s roots and smooth with your fingers or an edge brush. Braid from root to tip, keeping steady tension for a neat, frizz-free look. Repeat until all your natural hair is braided.
✔️ Step 5: Seal the Braid Ends
To secure the ends, use the hot-water soak method. Dip the braid ends in very hot water to seal them and prevent unraveling. This creates smooth, long-lasting Dookie braids.
Instructions for Dipping & Sealing Braids
🔥 Heat the Water: Warm water in the microwave or on the stove until it reaches a near-boiling temperature.
🧣 Protect Yourself: Wrap a towel around your neck to prevent burns from hot water.
💧 Dip the Braid Ends: Have someone else carefully dip the ends of your braids into the hot water. They should dip a few braids at a time and gently swirl each braid for a few seconds to ensure a strong seal.
🧼 Remove & Dry: Lift the braids out of the water and gently dry them with a towel.
✨ Style the Edges: Use edge control and a toothbrush or edge brush to smooth your edges. Avoid creating too much baby hair — big braids + too much fluff = frizz.
✂️ Trim Stray Hairs (Optional): Snip off any flyaways at the ends of the braids. This step isn’t required, but it will give the braids a cleaner, polished finish.
What to do and what not to do about Dookie braids?
Here are some dos and don'ts to help you achieve the best results possible. They will be especially useful if you are a beginner who has never braided your own hair.
| ✔️ To Do | ❌ Not To Do |
|---|---|
| Braid tightly to reduce flyaways. | Don’t make your parts too small. |
| Take your time — neatness matters more than speed. | Don’t buy hair extensions unless they can be sealed with hot water. |
| Wrap hair with a silk or satin scarf at night to maintain the style. | Don’t braid too tightly at the roots to avoid traction alopecia. |
| Apply edge control before braiding each section for a clean finish. | Don’t skip moisturizing — dry hair breaks easily. |
To summarize
You now know everything there is to know about braiding your own or someone else's hair. As you can see, it's a fairly complex procedure.
You can, however, achieve clean, sleek pigtails at home with a little time and effort. Simply follow the steps outlined above. We hope you found this information useful, and we wish you the best of luck with your hair transformation.


